 nanalLabs Blog
All you need is an email address and a computer with Obsidian. Setup takes about ten minutes, and everything in this guide is done once — after that, you just write. Every screenshot below is captured from the real service.
1. Create an account
Open nanalstamp.com/join and switch to the sign-up tab.
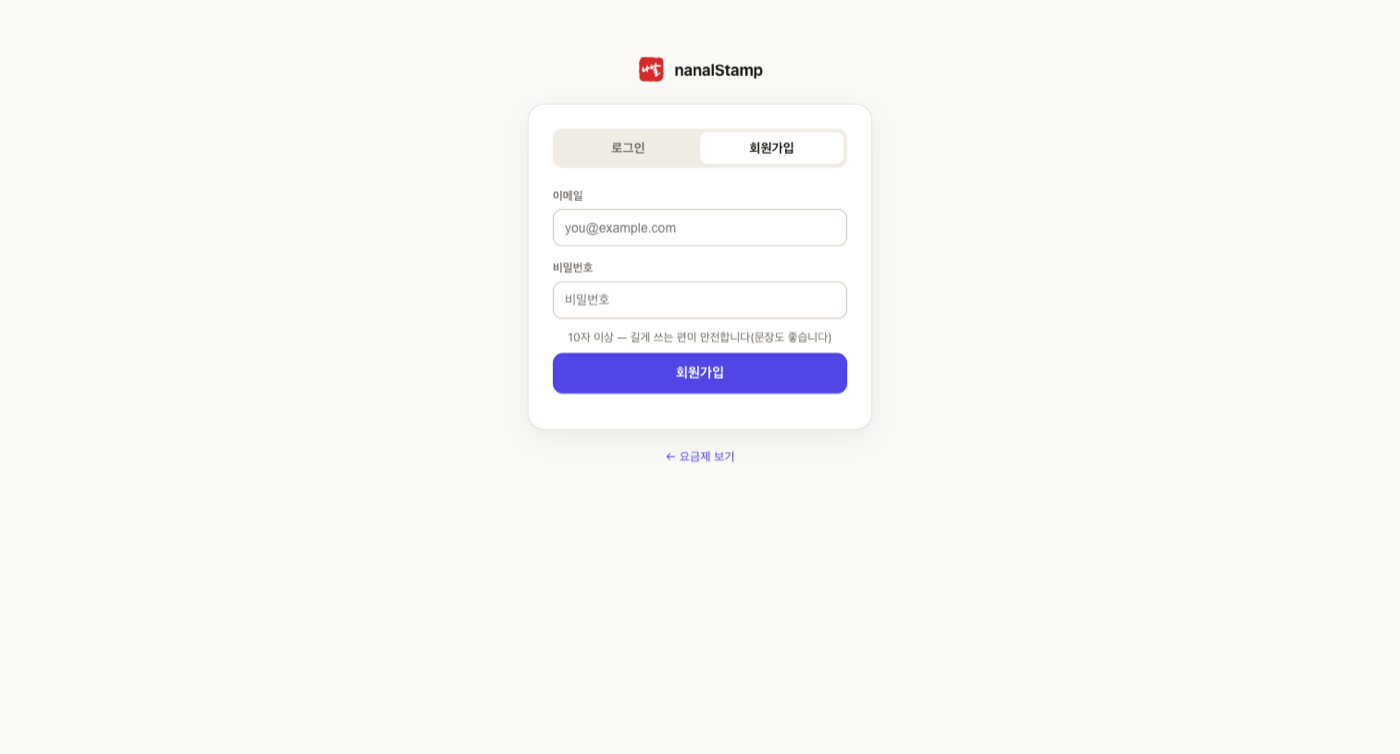
The sign-up form. Passwords are 10+ characters and validated as you type — a full sentence works well. Putting your email ID inside the password is rejected.
A verification email is sent on sign-up. Click the link — login is blocked until you do.
2. Install the plugin and log in
In Obsidian, open Settings → Community plugins (enable community plugins first on a fresh vault), search for nanalStamp, install, and toggle it on. Two things appear: a seal icon in the left ribbon (the entry point for everything) and "🔑 login required" in the status bar.
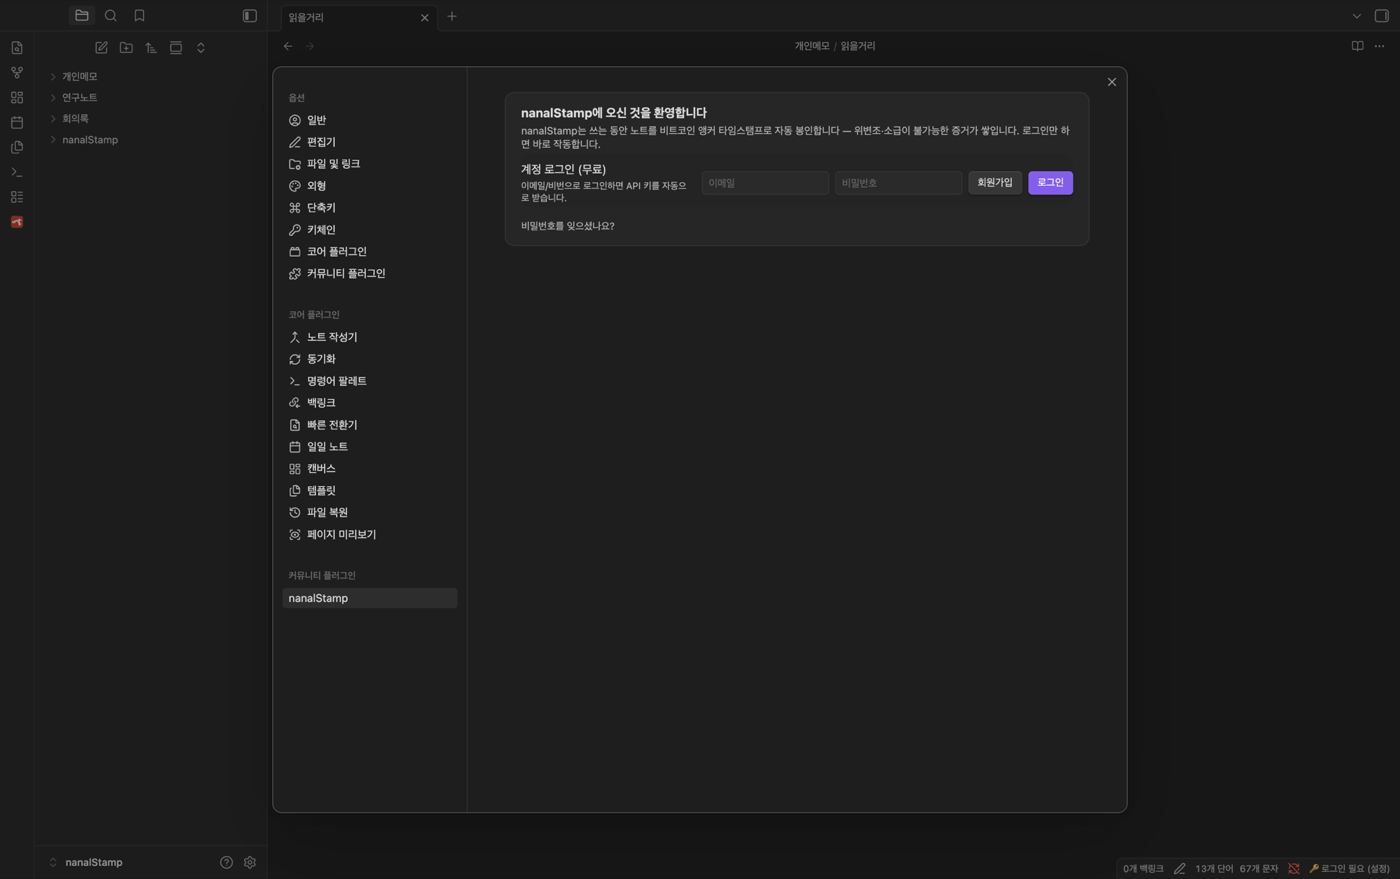
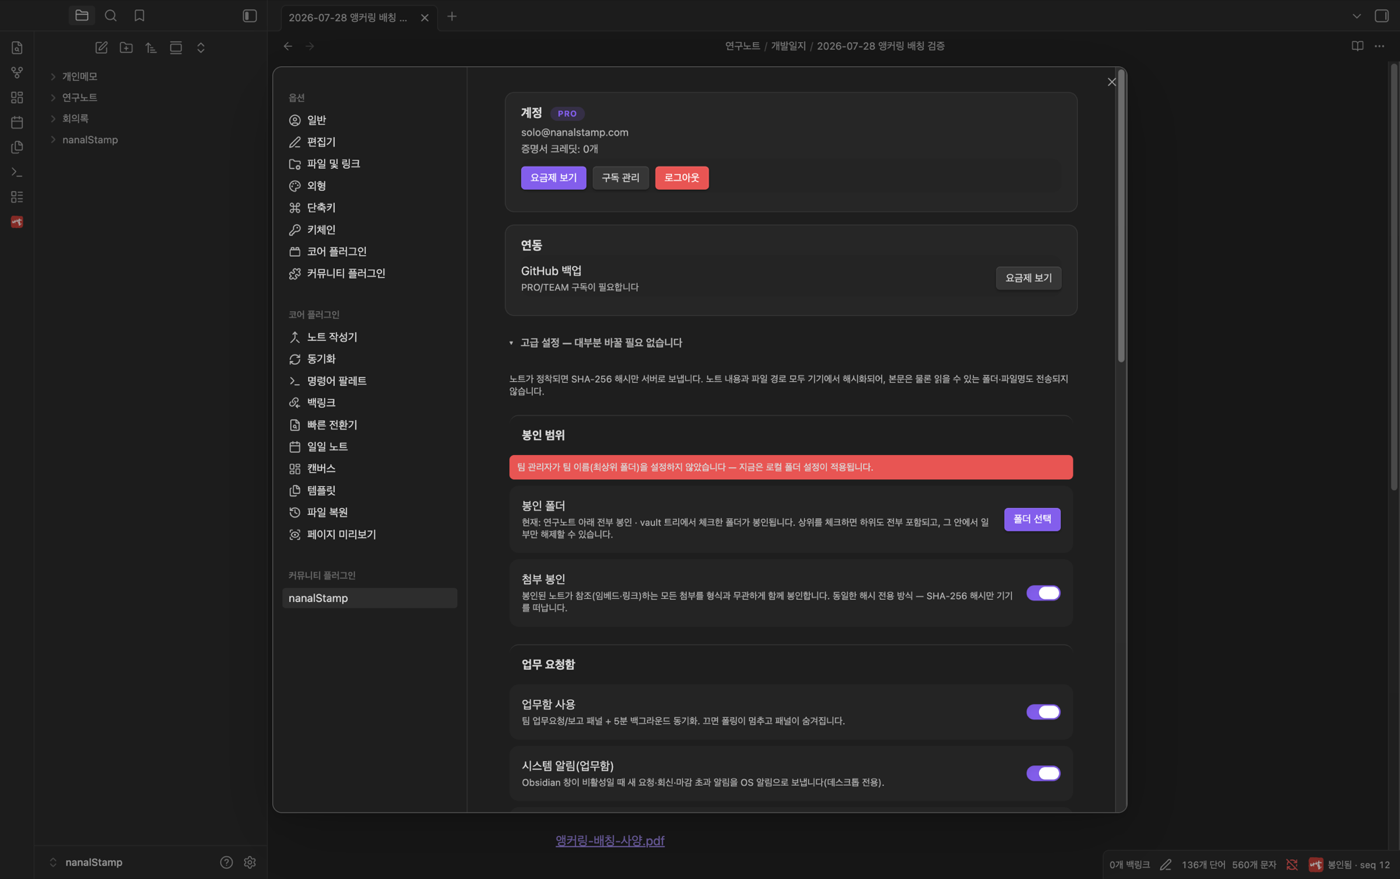
Log in under Settings → nanalStamp with the account you just created. Your API key is issued automatically — there is nothing else to create. The account card shows a FREE badge.
3. Choose folders to seal — the step that matters most
Logging in does not seal anything yet. You decide which folders become records, and nothing starts before you choose — by design. Right after login you'll see a ! badge on the ribbon icon, "⚠ sealing paused — choose folders" in the status bar, and a scope modal.
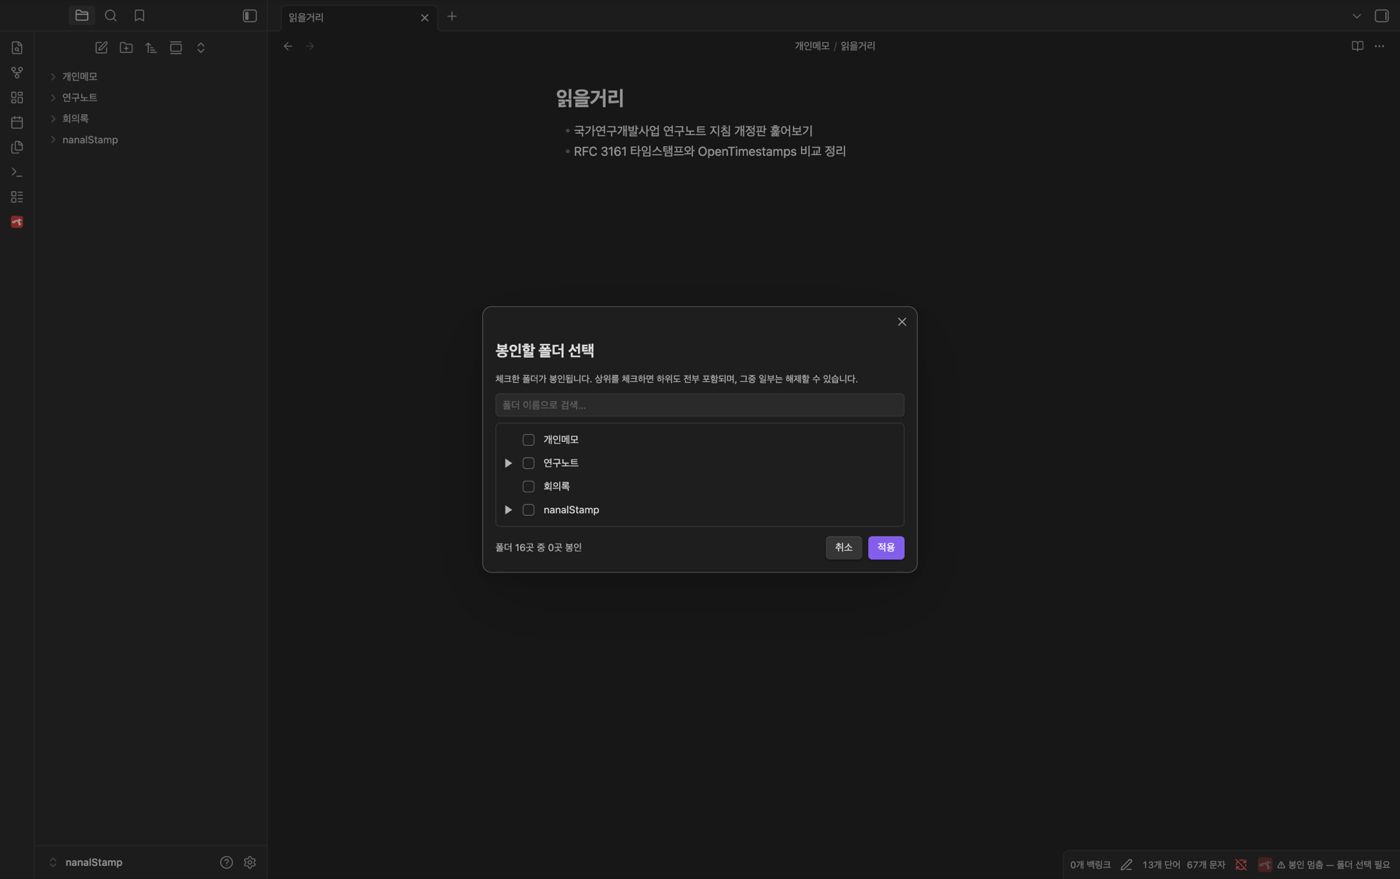
Zero seals until a scope is chosen. Click "Choose folders."
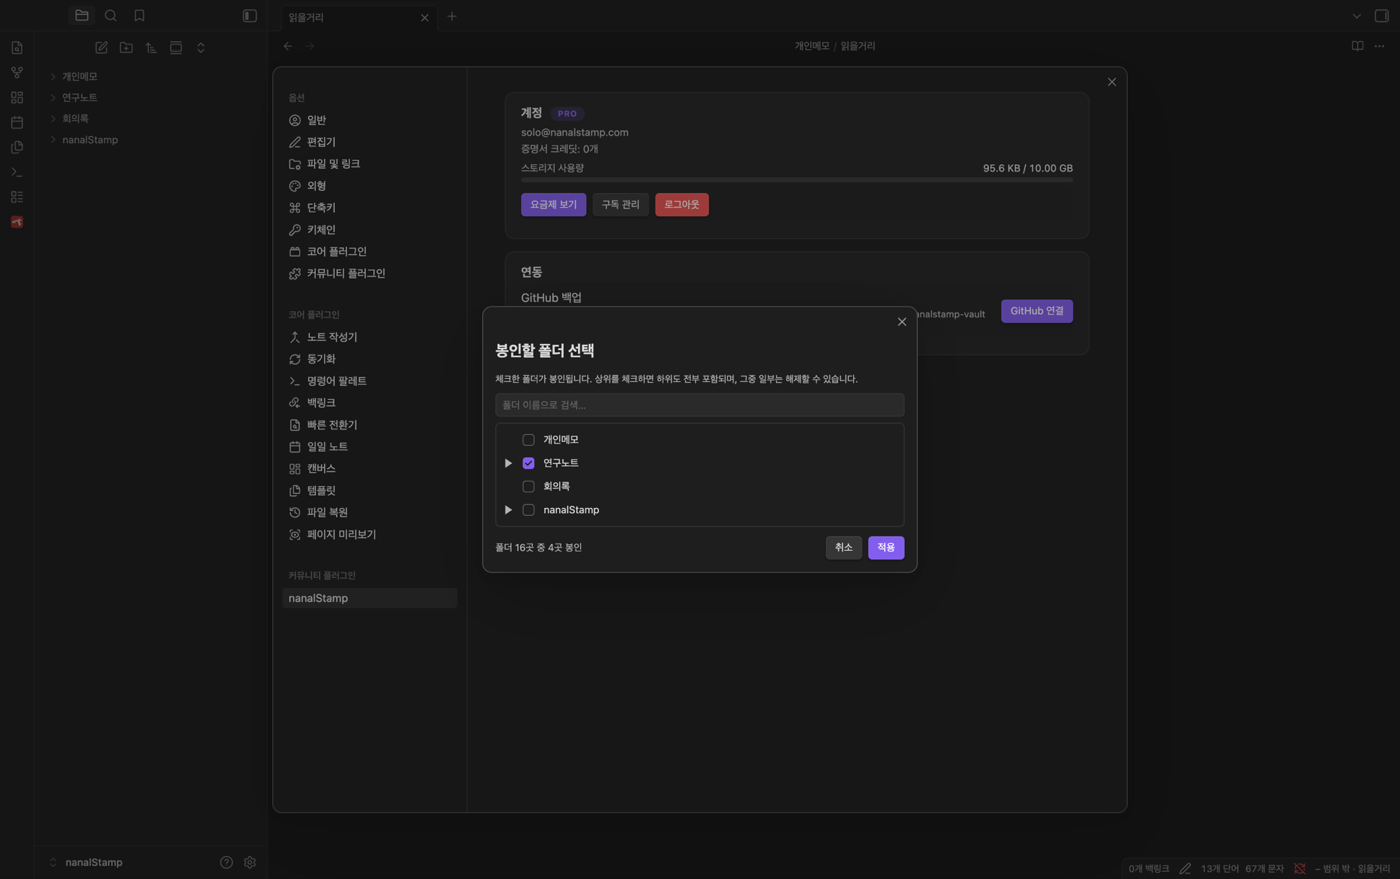
Check the folders to seal (e.g. Lab notes) and apply. Checking a parent folder includes everything under it; the counter at the bottom shows how many folders are in scope.
Open a note outside the scope and the status bar reads "– out of scope." Notes outside are never sealed, no matter how much you edit them — your journal and your lab notes can live in one vault with privacy intact.
4. Where past versions accumulate
In the same modal, confirm the local archive location (default ~/nanalStamp-archive). Every seal stores that moment's full text here as a version; moving the folder moves the accumulated history with it.
There is no off switch — only a location choice. Preserving originals
is the premise of the service. And on the free tier this folder is the
only place your originals live, on this device only. Lose the device,
lose the originals — cloud storage is covered in the
5. Ready
When the warning clears and the status bar reads "nanalStamp · 0 sealed," you're set.
Done — now just write. Pause typing, and five minutes later the note seals itself.
Log in at nanalstamp.com/home to see the same state on the web — device and web always agree.